 It is done -- our kitchen remodel or makeover is over. First lets take a peek what it used to look like. It was this aging, off-white kitchen that was begging for a new lease on life. It took 2-3 weeks to do not including all the pre-planning I did. I think it is important to pick everything you can possibly think of before the contractor comes, because you will always have stuff to get that you couldn't conceive of during the job. I feel that getting everything ready really saved us labor costs. Plus I was always willing to be gopher for my contractor so he can concentrate on getting tasks done.
 It originally was a project to just replace the cooktop. Then you have to replace the counters. Then you should have a backsplash and then you gotta paint. If you paint you have to fix the walls. If you fix the walls, then you need to replace the light fixtures. If you replace the light fixtures, you will have to fix the faulty wiring you inherit. Sixty percent of the remodel went to labor and much of the work you do not see because they are fixes.

My goal was to bring color, character, and functionality to our kitchen without changing the footprint or layout of our kitchen. I couldn't do anything over the top since this kitchen is small and we live in a modest ranch home.
Tada! So here is the reveal. We have Metal Ocean Formica counters that features greens, blues, grays, and golds. For the backsplash, I used Verde Laguna Marble tile. The cooktop is a 30" Wolf gas cooktop. The marble is the splurge even though 8 sheets of it was $80 off eBay, the labor involved was significant because while my contractor can lay tile, but is attention to detail slows him down when dealing with small tile. I helped out by putting in all the spacers for him. Once he laid the tile, I took over and grouted, impregnated, and sealed the tile myself. By that time we were aware that we have hit the top end of our budget. So, we ended up taking care of the finishing touches ourselves.
 Of course, it all started with replacing the cooktop. We had to cut off the existing bar because it was a fire hazard and looked dated. The person who had installed the bar, didn't do the proper measurements, and so there was an overhang over the back burners. I decided just to have our contractor make it a flat peninsula. I think this makes it look much more modern. People can pull up chairs and talk to me while I cook or prepare food. Before the bar was just a place to put stuff and it created a barrier between the kitchen and the living room.
 We also replaced the exhaust fan since it had not worked since we moved in. We had the most unpleasant task cleaning out all the grease up there. It now works like a charm and the original fixture sparkles and adds to the stainless steel/chrome accents for the kitchen. If we need to have a better exhaust system we can purchase a rooftop fan for about 200-300 bucks and it will give us a significant amount of CFMs. We had a real problem finding an affordable hood that wouldn't take up the tiny kitchen and be low profile. So far we haven't found we needed the extra CFMs.
We have since moved the DVDs shown here and moved up a hutch for our dining room area now that our son is old enough to have furniture with glass.The hutch is an old one that has been beaten up over the years, but I was able to clean it up and accessorize it to hussy it up a bit.
 Eventually I would like to put a wine rack and shelf from Pottery Barn up around it. It would be nice to have a place to store our wines.
It makes me happy we have a proper dining room area that is more adult. It makes me happier that we didn't have to spend anything in accomplishing that. I just used what I had stored away. This looks better when I have a table cloth that is burnt orange
 I am really liking how the tile came out. There is a real variation to the tile from dark to pale green with streaks of gold or white. There are pictures below that show the variations better, but this is a nice close up against the Metal Ocean counter.
 I got the idea of pairing tile with the Formica by searching for photos on the Internet and noticed all the photos I liked of the Formica had a tile backsplash rather than a Formica one. It was a gamble to get the tile when I really couldn't see the countertop until it was finished an delivered. Swatches, even large ones do not do the design justice. It really looks better than the swatches suggest. Fortunately the countertop and tile work well together and both work well with the wall color.
The only catch was the wall color, Kelly Moore Calypso Breeze, turns out to be not the color we used in the living room after all. The livingroom is more a greenish blue than Calypso Breeze, which is more of a proper blue. I am now thinking this color was some wacky custom shade we will never figure out.

Removing the soffit allows me to store and display my tea set and bring in my Quan Yin statue. Did I tell you how much I love that moulding? It was beautifully done and just adds that special something to the kitchen. The cabinets look more solid and hides the fact that these cabinets were resurfaced in the 1980s. I really love how the wall color goes with the tea set and statue, but also with the cabinets. I really put thought into how all the color choices I made complemented each other.

We added more storage with stainless steel shelving from a restaurant supply store. They are both 84" 18 gauge stainless steel shelves. They replaced white shelving that was not very appropriate for kitchen use. We reused them down in the garage that we turned into a game room for all the boardgames we have. I like that there is a lip that will keep things from falling off. Again, I am happy how the stainless steel goes with the wall color.

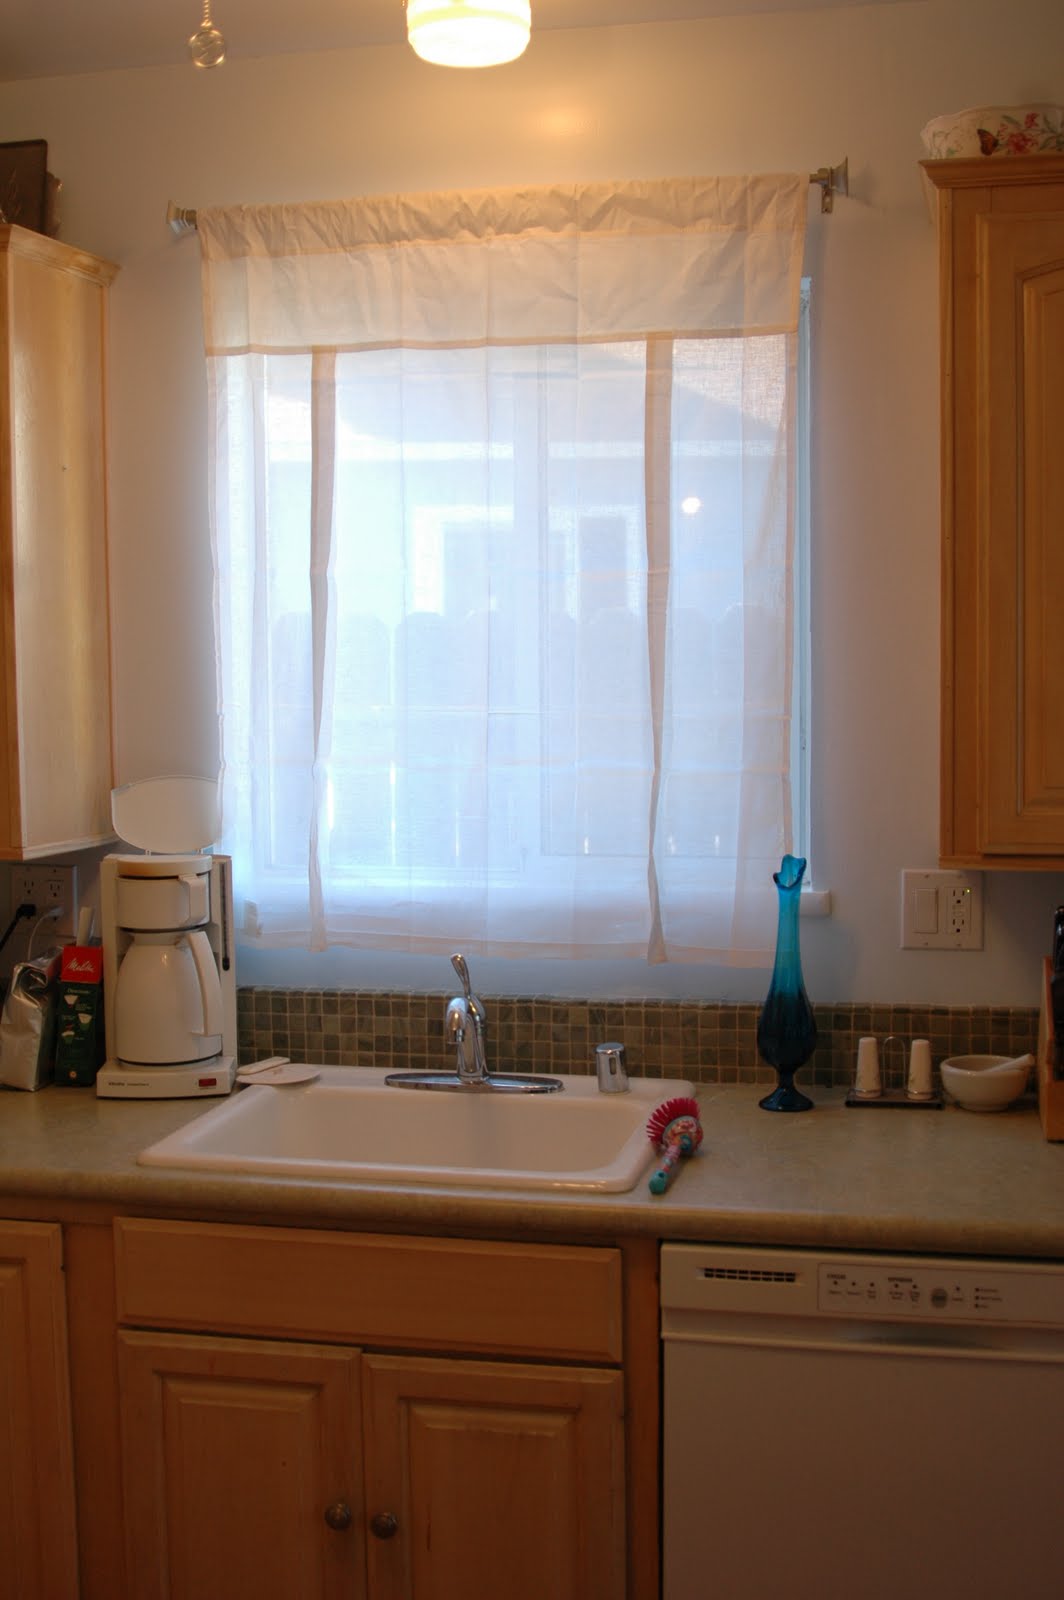
The curtains are linen shades from Pottery Barn, which give privacy and window dressing without sacrificing natural light.
Speaking of light, we replaced the light fixtures. The one you see in this photo has a green design on the frosted glass. New lighting fixtures are a simple way to update the space.
The table there is for groceries, homework, and for me to organize stuff. I can help with homework and make dinner.


I am extremely happy with the result. I have learned that you really do not need granite countertops or solid surface countertops to update a kitchen. You can get great results with a laminate like Formica. If you have the money and absolutely LOVE a solid surface option then, of course, get that counter. My experience is that there was no design of granite or solid surface that was worth the drastic leap in price. It was $480.00 to get both counters done. To get Caesarstone, I would have to spend about 5k. Given this remodel cost more than we were planning, the added cost of 5k would have been just unbearable. The thing is I wasn't in LOVE with any of the solid options. Plus, there are trade off with all types of solid surface options. Going with Formica allowed us to do a lot more with the kitchen as a whole.

3 comments:
LOVE IT!!! you have inspired me! THANX!!!
Yay! Congrats and enjoy. The ss shelving looks great!
Yay! Congrats and enjoy. The ss shelving looks great!
Post a Comment